By Felicity and Krystle & filed under Cake Decorating Blog.

Adding hand-painted names, greetings and even monograms onto fondant can be nerve-wracking no matter what your experience level. But with these smart tips and our fun tutorial, your freshly baked treats are sure to send a sweet message.
4 Tips for Hand-Painting Calligraphy on Fondant
1. Beginners Should Skip the Paintbrush
If you have an unsteady hand or you’re new to painting on fondant, definitely opt for an edible ink marker over a paintbrush. It’s way easier to use, since you can get the basis of your text down by simply writing on your fondant. And whatever you do, use a gentle touch — if you press down too hard as you write, you’ll end up stabbing or dragging holes in your fondant.
2. Go Section By Section
You don’t have to turn out picture-perfect messages with just the flick of a brush. Instead, work in small sections, and take the time to prep, sketch, paint and smooth the curves and edges on each one. Breaking it down into a number of tiny steps makes everything feel more manageable — you can conquer each task one step at a time!
3. Grab a New Paintbrush
After a short while, the bristles on your food-safe paintbrush can dull, separate or break apart into fan-like shapes. That’s totally normal. But it also means you should replace ’em. When you’re shopping, remember short, fine brushes that have a little stiffness to them are much easier to paint with than long, thin brushes.
4. Don’t Write Directly On Your Cake
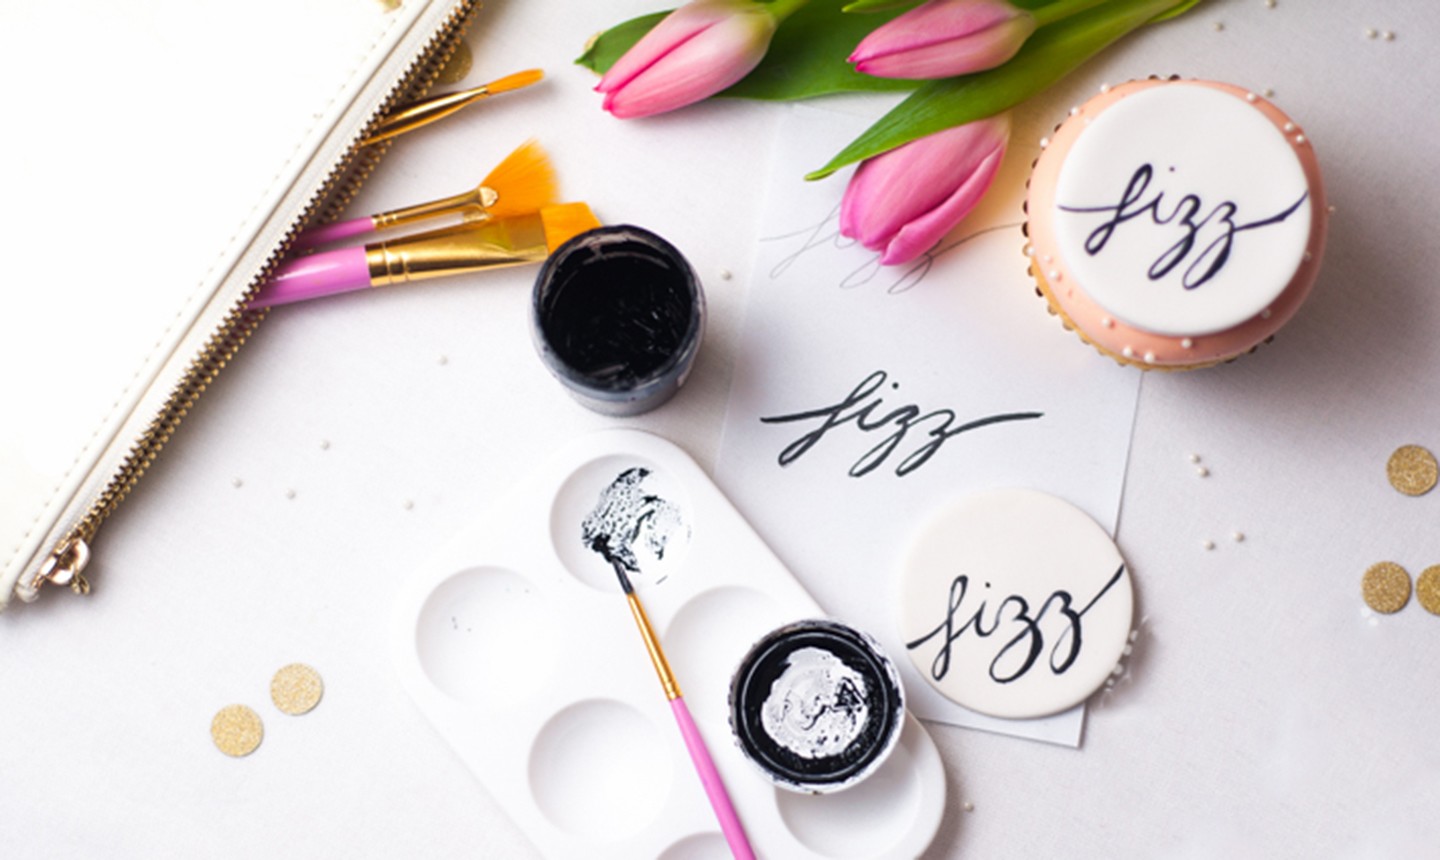
If you’re feeling nervous about writing directly on your baked masterpiece, do what we did with the cupcakes below, and make yourself a separate canvas to write on. We wrote on discs made out of gum paste — if you mess one up, just grab another and try again!
How to Hand-Paint Cake Calligraphy
What You Need
Instructions
1. Practice Writing the Words

It helps to map out what you intend to paint onto your cake or cupcake. For text, this generally means finding the perfect font on your computer and printing it out in the right size. If you’re working with handwriting, you’ll need to work out your style and sizing by hand. (For our “pop, fizz, clink” cupcakes above, we wrote down the words on paper first, opting for a trendy look with elongated tails on the first and last letters.)
To start, write your words in pencil so every letter features the same thin line. Then, go over them in a brush marker to thicken the letters as desired.
Pro Tip: To achieve a calligraphy style, make the downstrokes thicker than the upstrokes. If you’re working from a computerized font, those thin and thick lines will already be featured.
2. Paint a Light Guide

Using a super fine paintbrush and lighter-colored edible paint, lightly “sketch” in the word. Using this technique may seem scary since it never looks perfect at this stage, but you will trace over this light guide using bolder edible paint later.
Pro Tip: If you make a mistake, gently remove your mishap with a clean, food-safe brush and a little vodka. Remember to let the area dry before re-doing it though, or you’ll end up in a worse situation — a wet patch means runny paint work!
3. Add the Details

Working on top of your sketched message and referring to the example you made in step one, carefully add in the thicker sections of each letter using a bolder edible paint. You can use a slightly thicker brush for this step, or use the same fine paintbrush — whatever is more comfortable for you. You can even practice on a scrap of fondant just to get a feel for it before committing.
4. Smooth It All Out
Let your work completely dry. If you notice any slightly shaky lines, carefully go over it again to smooth out the text.
Photos by Juniper Cakery
Comments
No Comments